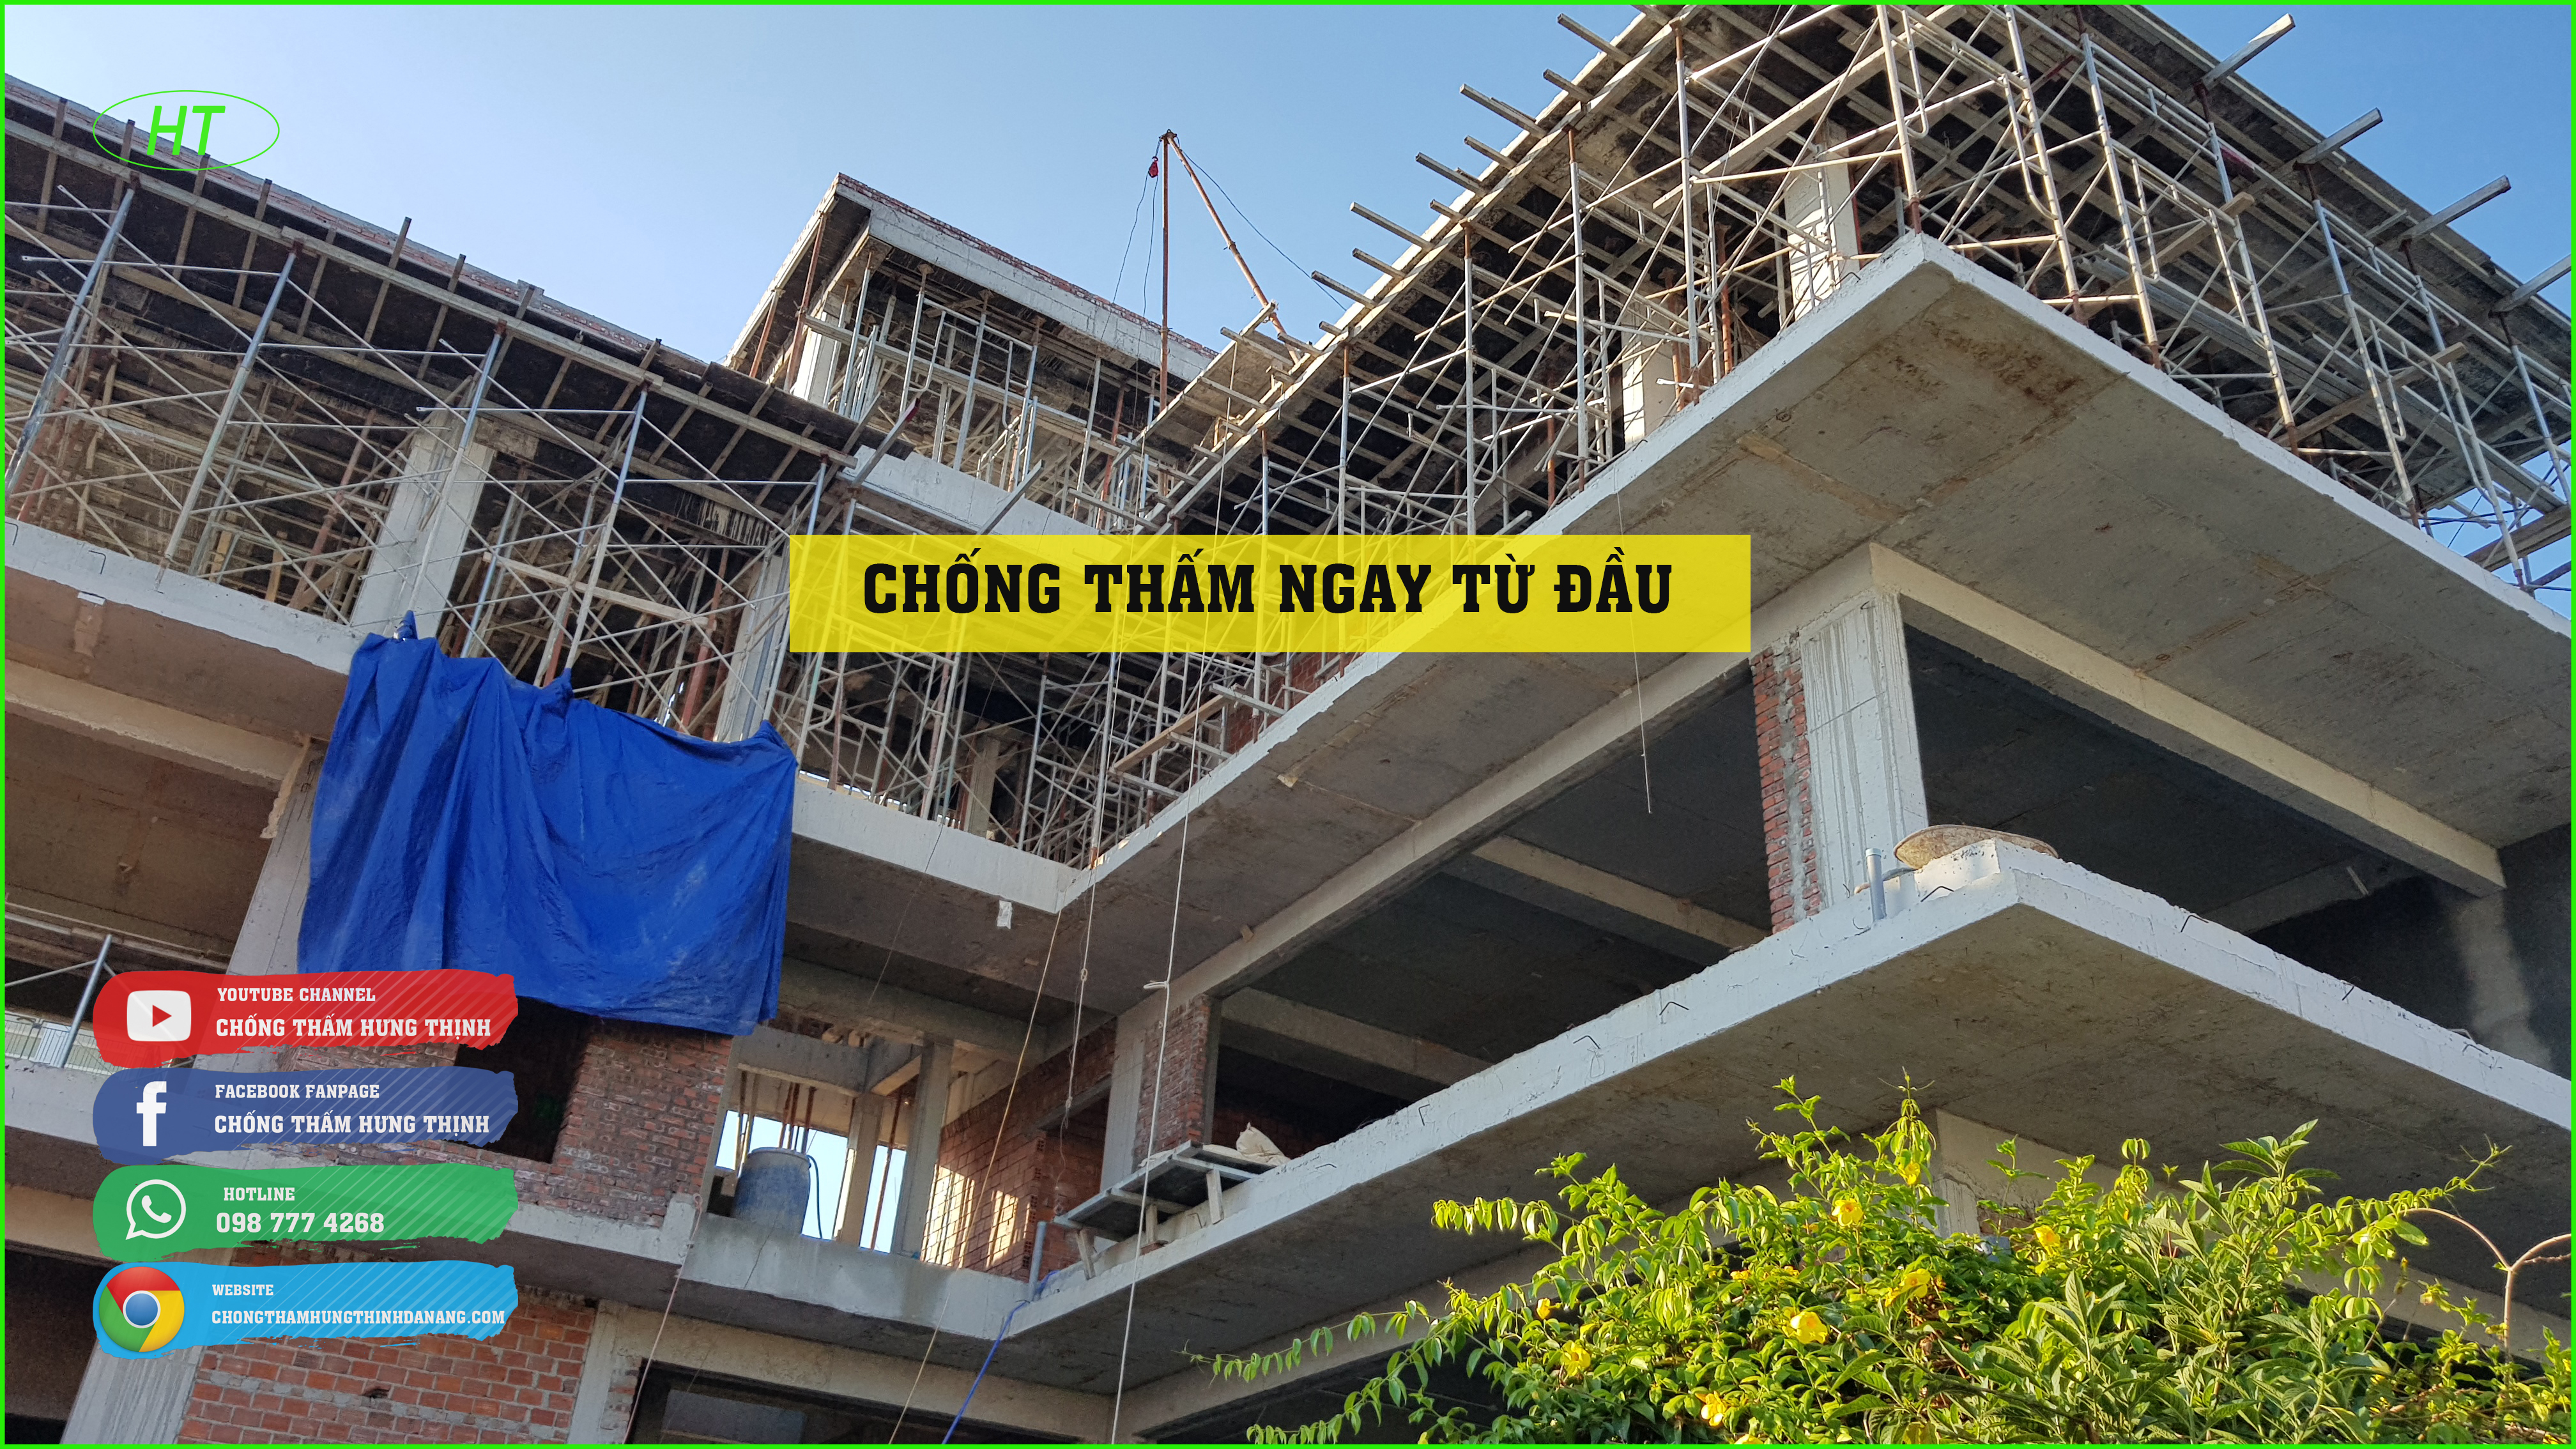
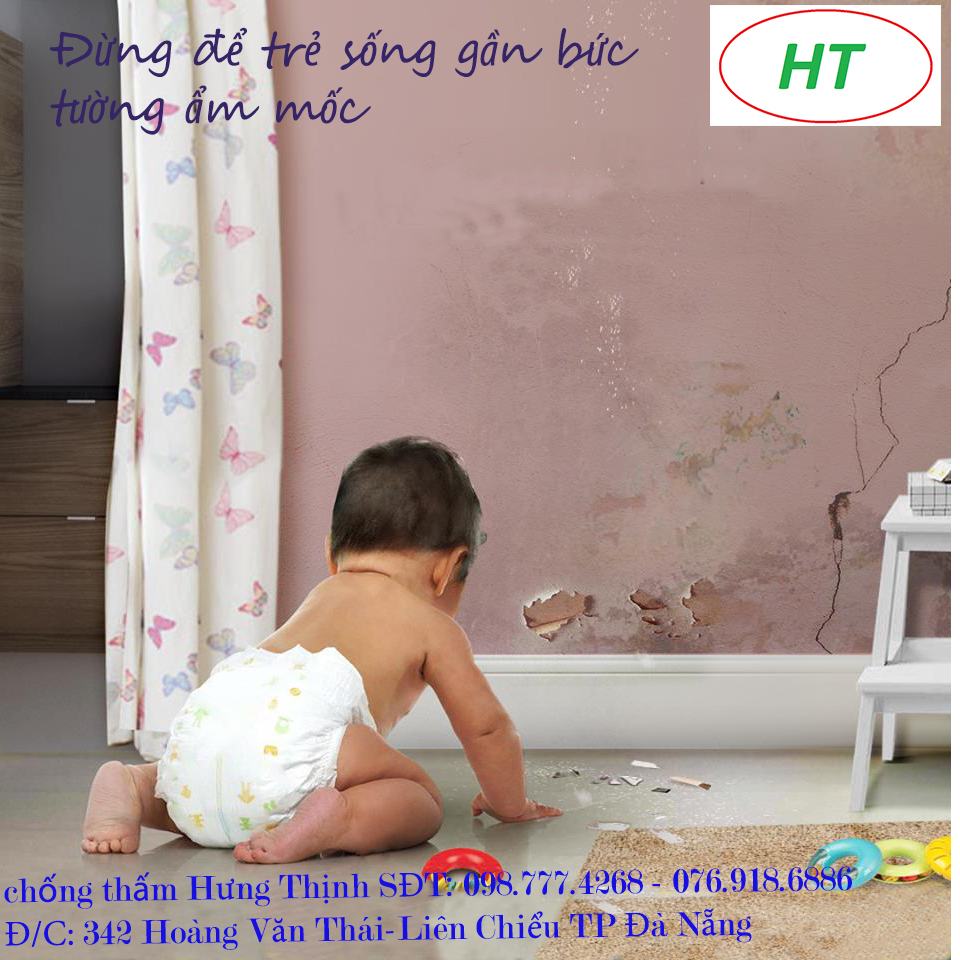
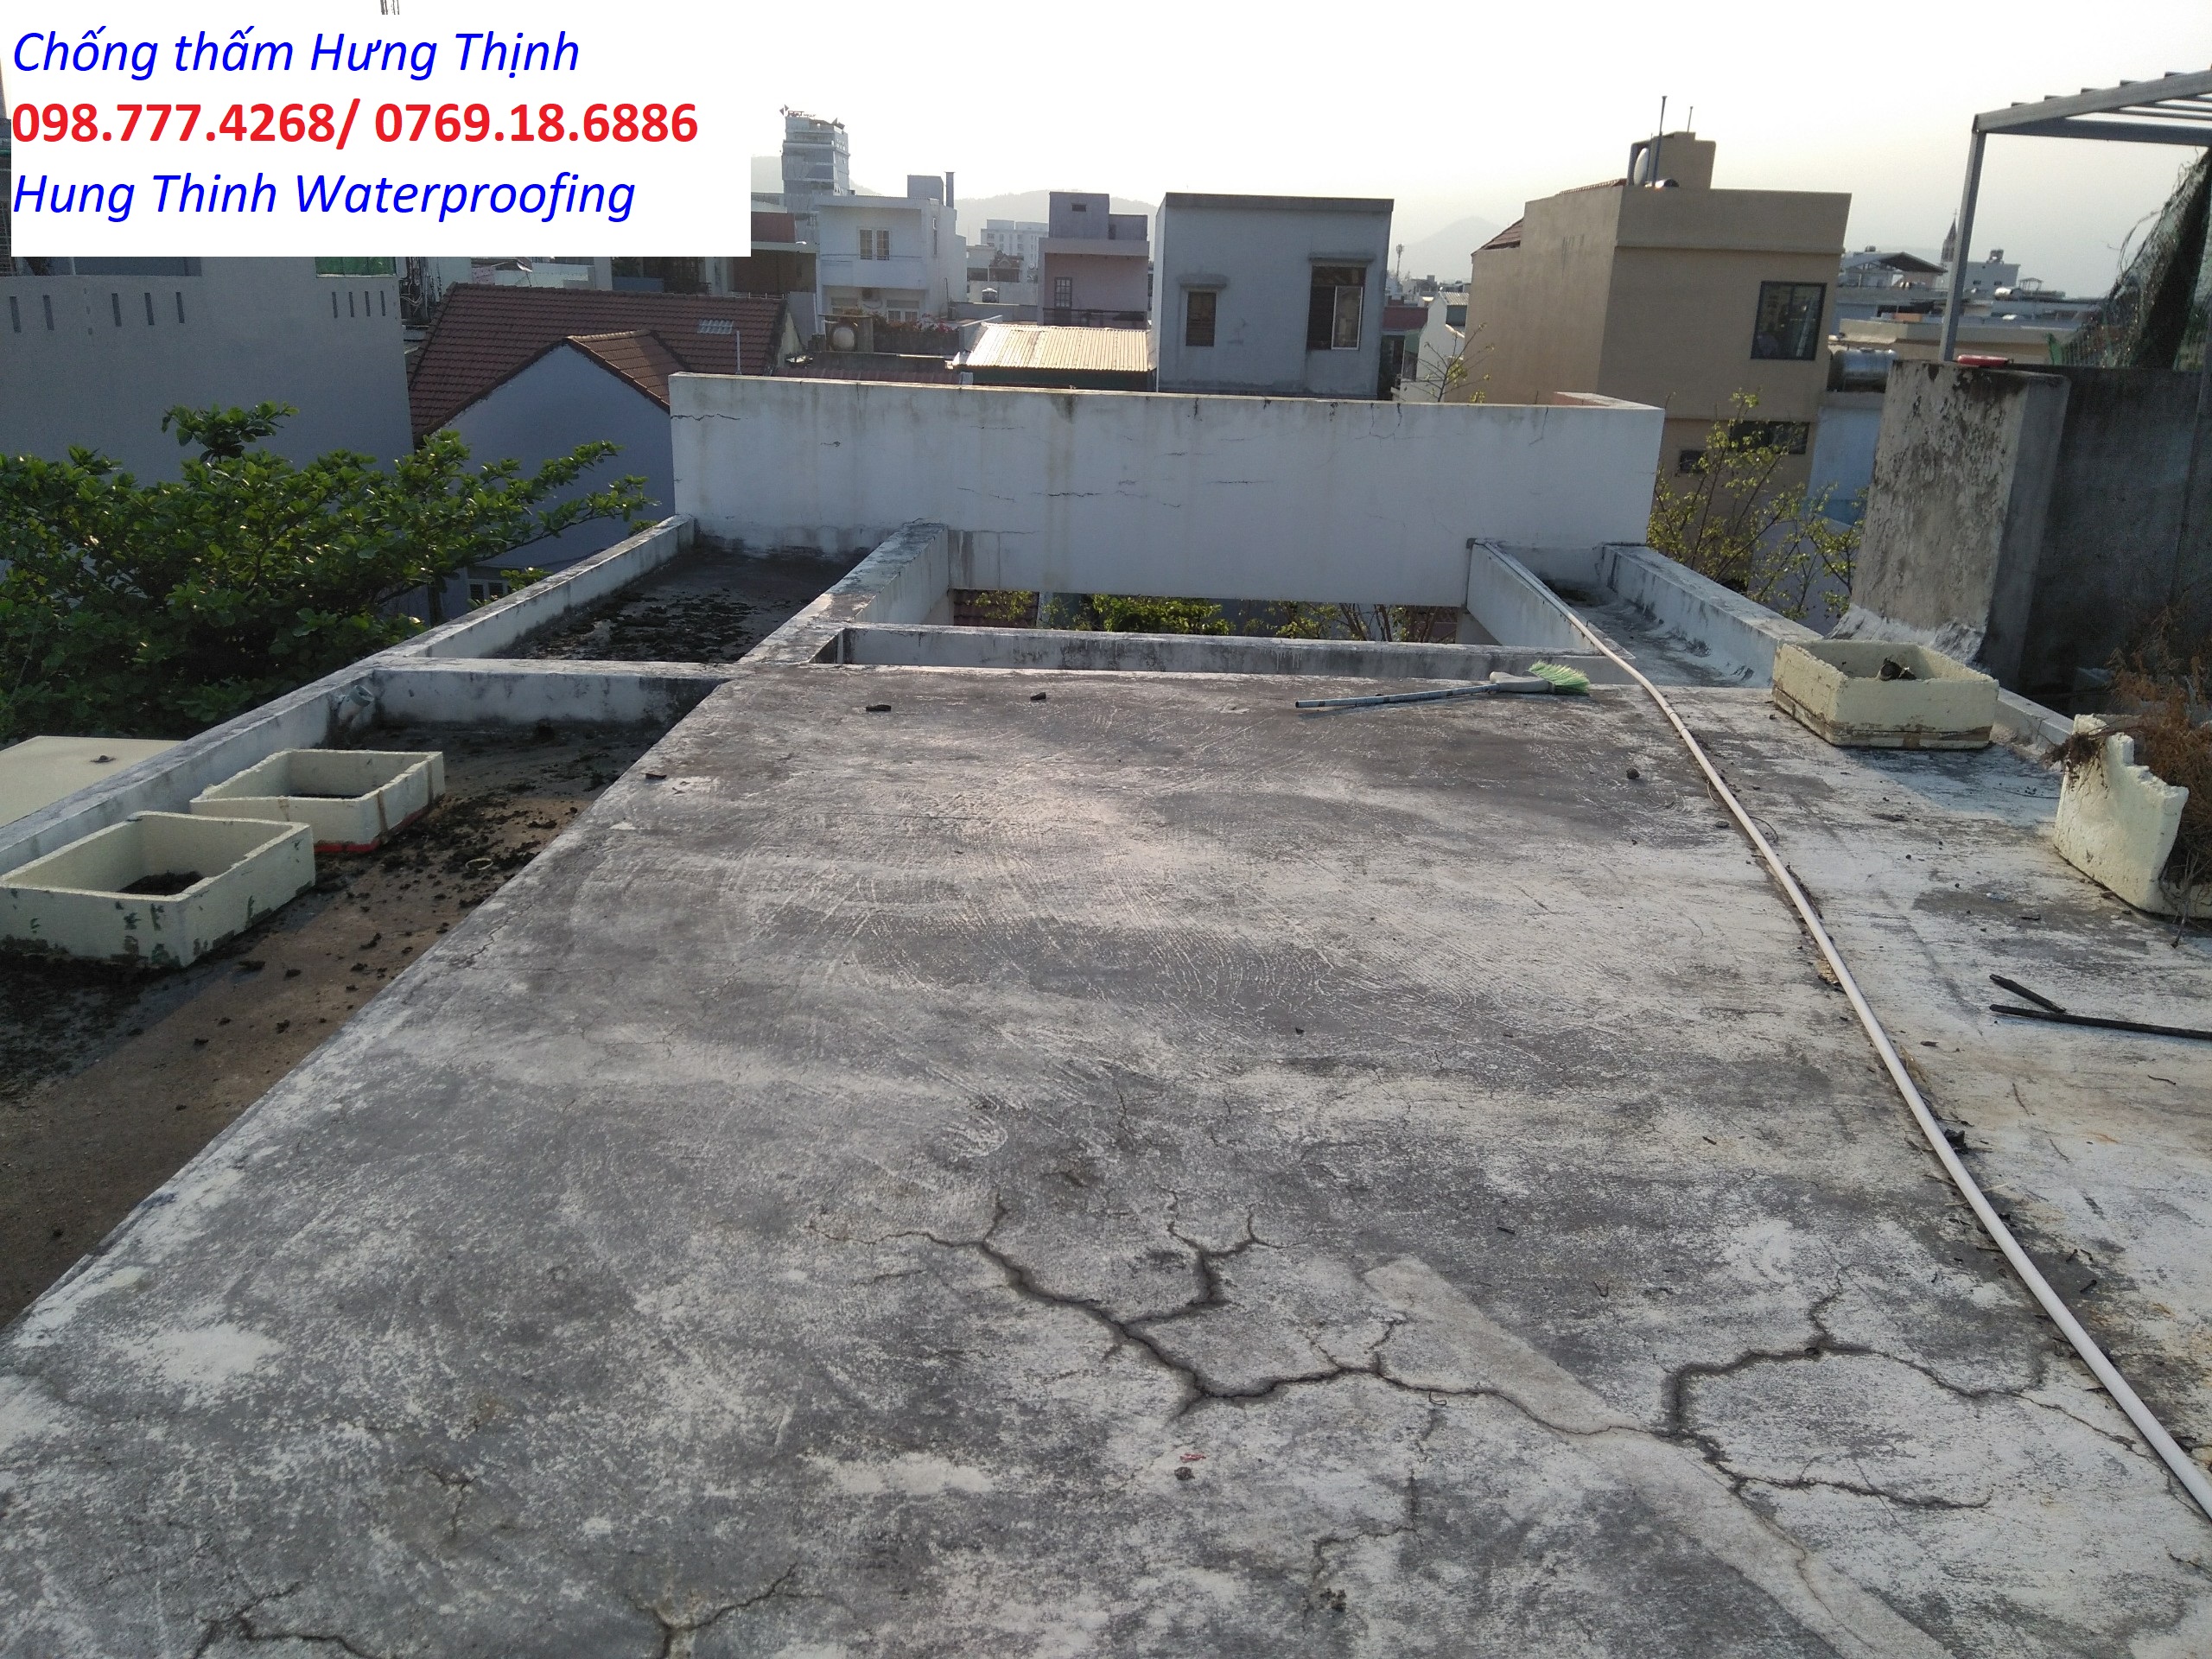
It will not be difficult for us to come across a moldy wall. It has become one of the very painful problems in construction. How to waterproof the wall well will be the main content in this article of Hung Thinh Waterproofing.
The wall is the place that is most affected by the weather and nature such as rain, wind, hot sun... Therefore, the wall waterproofing is always the first important issue when building a new house.
Image of cross-sectional waterproofing of exterior walls
Signs when you need to waterproof the wall
+ The wall is cracked, wet.
+ The wall is moldy and when the weather is rainy, the wall is wet, and when it is sunny, it is dry.
+ The wall has white limestone stalactites.
Photo seeping through the wall in the house
The image of the outer wall is cracked and peeling a lot causing seepage
The reason why the wall of the house is heavily waterlogged
There are many causes for your wall to be seepage, some of the basic causes of wall seepage are as follows:
1. Due to the poor quality of the outer layer of mortar. Due to frequent sudden changes in weather, this screed will very easily shrink and form crow's feet cracks for rainwater to penetrate into the wall.
2. Due to degraded construction structure. For example, the mortar aggregate is not properly designed, in the construction process, many materials are trimmed and mixed with many impurities, making the structure unstable.
3. Due to the waterproof membrane. The outer wall waterproofing membrane may have problems for some reason such as the waterproof layer is too thin, the waterproof layer is aging, the design of the waterproof layer is not correct, it is not suitable right from the start head.
4. Because the house has been used for too long and in the process of using it is not maintained regularly.
The image of the wall is permeable due to water seeping through the door frames
Consequences of the wall being waterproofed if you do not handle the wall waterproofing right away
When having problems related to seepage walls, you need to deal with wall waterproofing right away to avoid wall leaks that leave many consequences as well as to handle these problems before the rainy season arrives. Because when the rainy season comes, you will not be able to waterproof the outside wall.
1. The first consequence is health effects. Especially those with respiratory problems. If you live in a house where the walls of the house are permeable, the indoor air will not be fresh and the spirit will always be in a state of anxiety because of living in a leaky house.
2. When the wall is permeable, the water will continuously seep through the exterior plaster layer, brick layer and indoor finishing mortar layer. This continuous seepage process will greatly weaken the wall's texture. In many cases, the mortar layer is soaked to rot, the more difficult the repair work will be.
3. The house must really be where you want to be. Once the wall of your house is soaked, it will greatly affect your life. For example, when it rains, you have to collect water because the water seeps into the wall.
4. The value of the house will be greatly reduced if your house has a wall leak.
5. It is the aesthetics of the house architecture that is vandalized. You will have to live in moldy walls all year round and if you don't waterproof your house will become increasingly heavy.
6. It is electrically safe. The wires going in the wall are a lot, so if the socket wires are wet due to wall penetration, the risk of fire and electrical insecurity will be very high. And the electronic devices in your home will also quickly fail when your house is too moldy.
Picture of the consequences of the wall seepage incident
Picture of the consequences of the wall seepage incident
Summary of effective wall waterproofing methods
1. Waterproof the old house's wall, the house has been put into use.
Step 1: Carry out cleaning to remove all impurities on the wall such as Mattit Putty, Old paint has been damaged. You can use the effervescent tables to clean.
Step 2: Proceed to cut and expand all the cracks in the wall. Then you clean these cracks and seal them with Sika flexconstruction Ap glue.
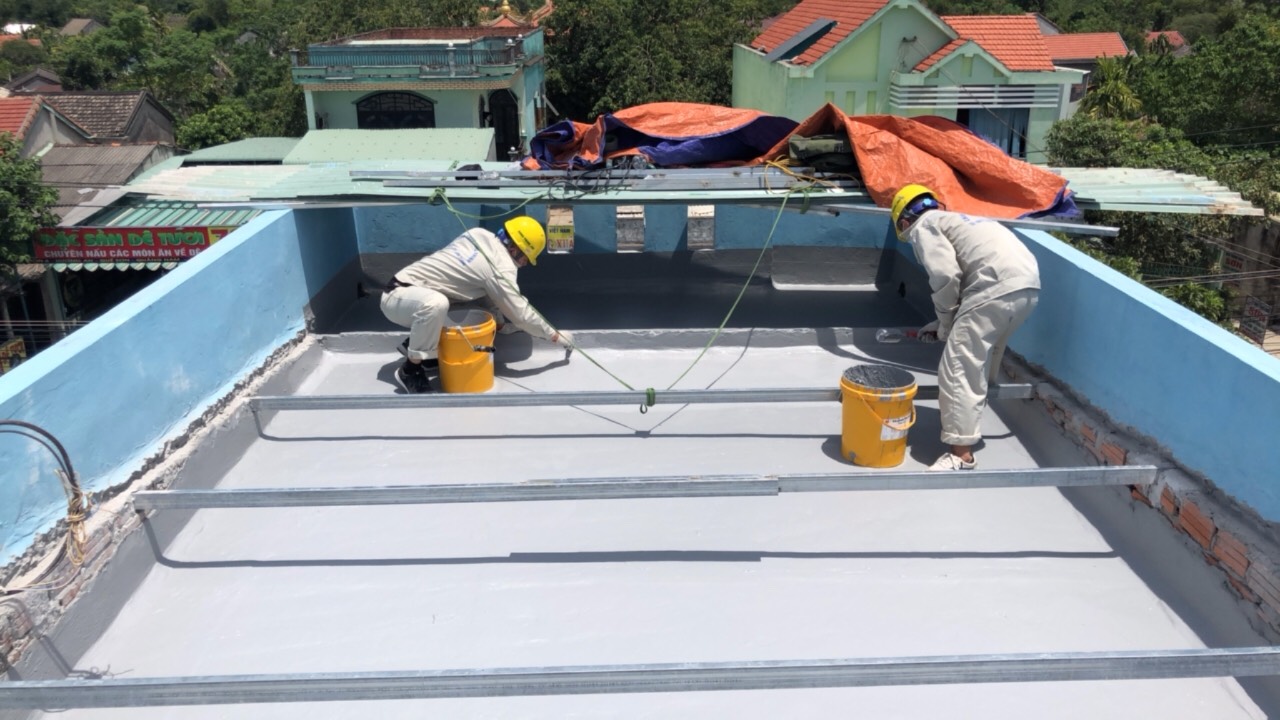
Step 3: You will proceed to roll layers of outdoor wall waterproofing paint. For outdoor wall waterproofing products, you should choose acrylic-based paint products, good elasticity, UV resistance, so choose white or light gray, it will be very durable. In addition, you need to properly apply the norm, if you do it too thin, your waterproofing layer will not have much effect. For example, if you use sika raintite wall waterproofing product, you will apply 2 layers in the shape of a cross with the rate of 0.7 kg/m².
Step 1: To waterproof the newly built wall, right from the time you apply the mortar on the outside walls, mix the additive Sika Latex into the mortar to waterproof the outer wall. In addition, you must check the mortar mix of the outer screed very well.
Step 2: You will proceed to roll the layers of outdoor wall waterproofing paint. For outdoor wall waterproofing products, you should choose acrylic-based paint products, good elasticity, UV resistance, so choose white or light gray, it will be very durable. In addition, you need to properly apply the norm, if you do it too thin, your waterproofing layer will not have much effect. For example, if you use sika raintite wall waterproofing product, you will apply 2 layers in the shape of a cross with the rate of 0.7 kg/m².
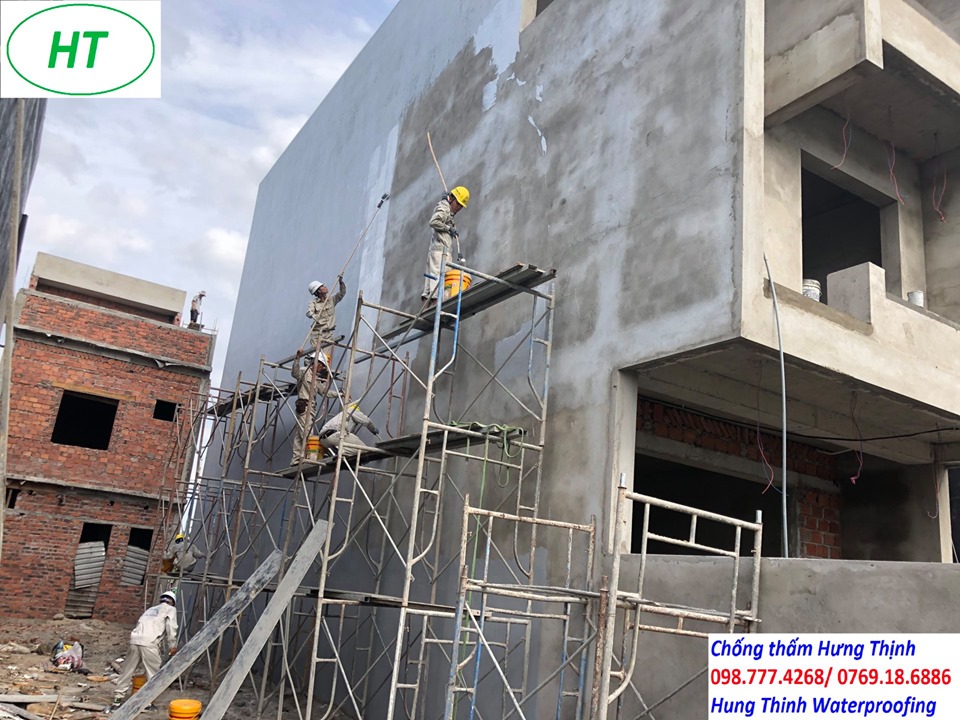
Outdoor wall waterproofing picture
3. Waterproof the adjacent house wall, the gap between the two houses.
With the method of waterproofing a semi-detached house, you will have 2 cases: how to waterproof adjacent houses for houses that have been put into use and how to waterproof adjacent houses for houses under construction.
- Case 1: The house has been put into use.
This is a very easy and very effective way to first cut the groove into the higher side of the wall. You will then position the corrugated board into this groove.
Photos of materials used to waterproof the gap between two houses
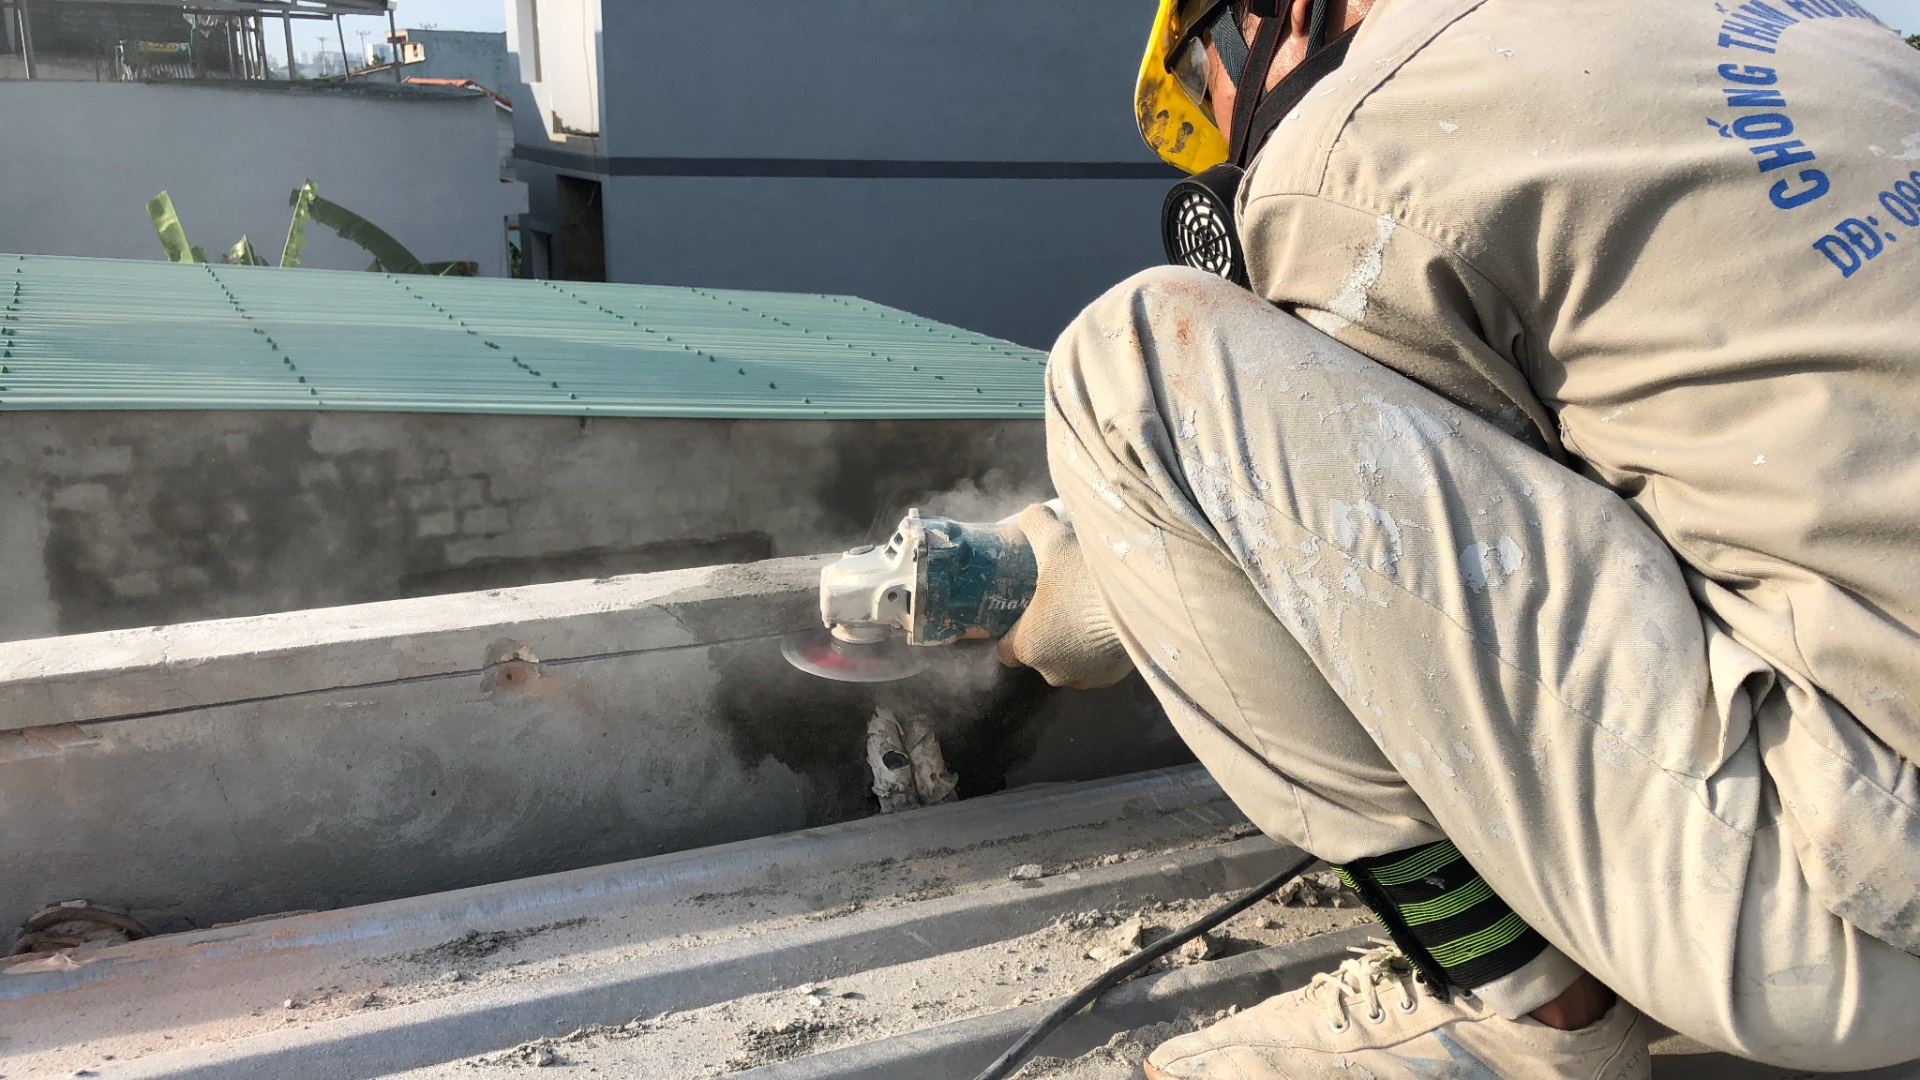
Use a hand-held grinder to clean, roughen the surface of the sink so that the glue adheres to the surface of the wall and corrugated iron, then insert the locating corrugated iron into the groove. If the gap in your house is very small, the glue pump will fill the gap in the adjacent house. The type of glue you can easily find and buy in the specialized market for waterproofing is Sika Flexconstruction AP glue.
After you have applied the glue, you will seal the surface thoroughly and apply a layer of exposed Polyurethane waterproofing membrane, stick a layer of polyester mesh or glass mesh for reinforcement. Please note that you should not use asphalt waterproofing (Bitum) to construct this gap because the asphalt is not good sun-resistant, easy to melt and age.
Image of waterproofing the gap in the adjacent house
With this solution, when it rains, water will flow from the high-walled house to the low-walled house, so there is no more water entering the gap between the two houses. You can see details in the video below:
- Case 2: Waterproofing adjacent houses for houses under construction.
If since the construction of the gap between the two houses is wide enough to place the trough, you will design the stainless steel trough to be suitable for placing in the gap between the two houses. You should use stainless steel troughs because if you use corrugated iron troughs to rust later, it will be very difficult to replace. If the gap is small, you can waterproof this gap by plugging corrugated iron into the wall before grouting, or pouring concrete or building bricks to seal the gap and then you will apply layers of outdoor elastic waterproofing. enter. The location of the adjoining wall is very permeable, so please pay special attention.
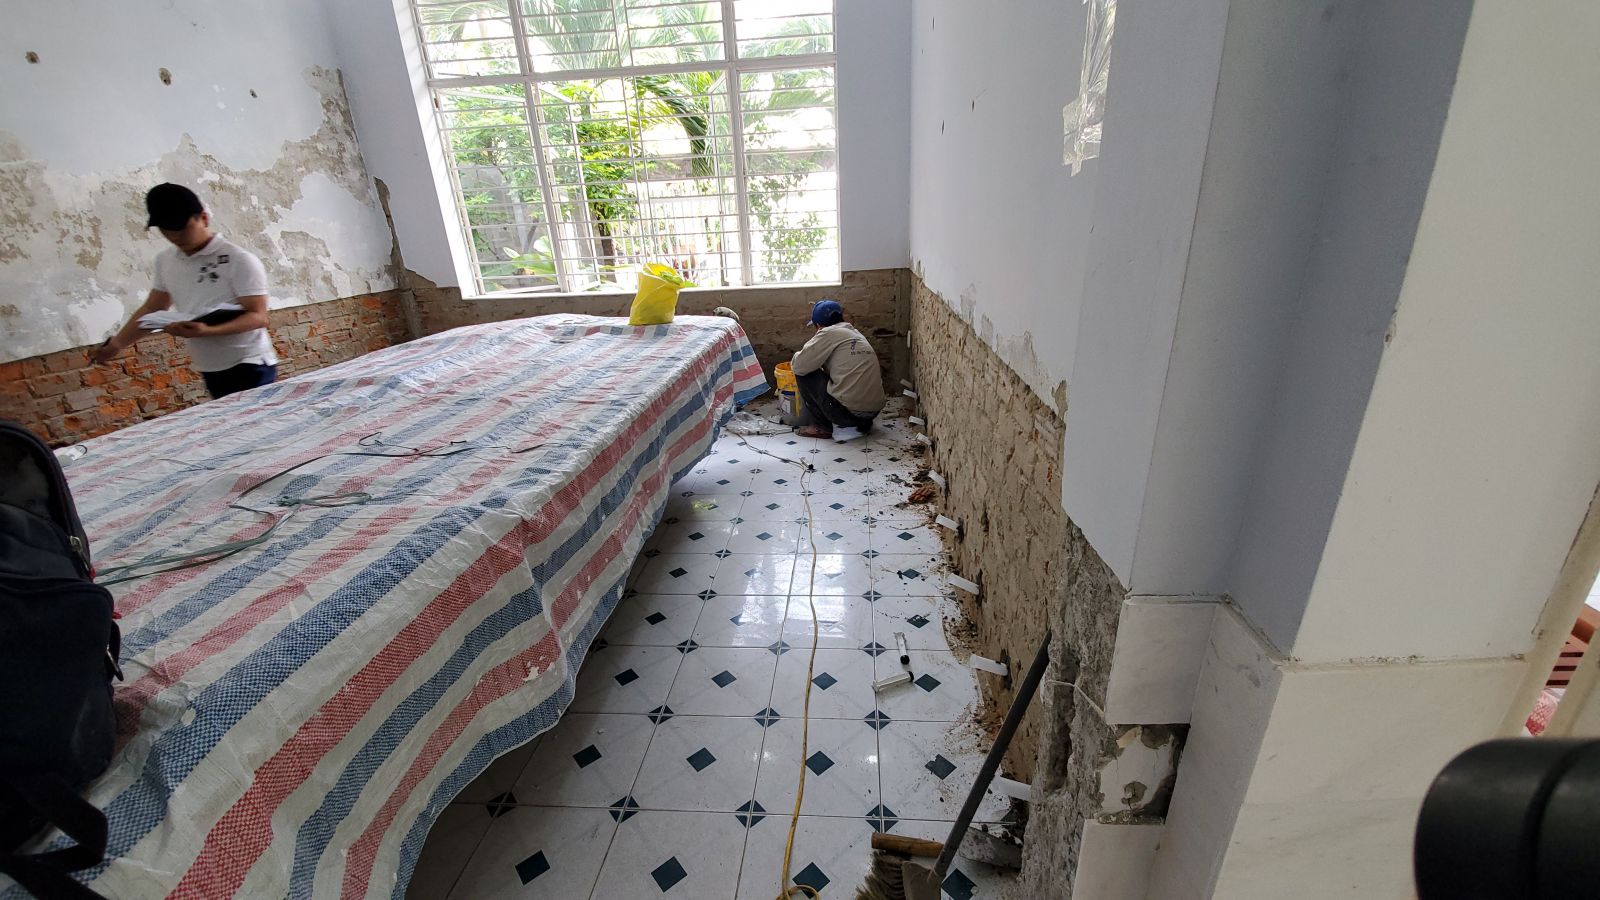
4. Indoor wall waterproofing and basement waterproofing.
These are two very permeable wall positions. There are 2 causes of wall penetration and footing. The first reason is due to infiltration from the outside. The second reason is infiltration by capillary osmosis from the ground capillary up.
To waterproof the wall from the inside and to waterproof the base of the wall, you can follow these steps:
Step 1: Punch all the damaged and permeable wall mortar in the house.
Step 2: Drill holes and inject waterproof glue into the base of the wall. And you should note that do not drill holes in the brick, but you will drill holes in the brick building circuit locations and pour glue into the glue pump holes drilled into the wall through the cylinders.
Step 3: Remove the cylinder, paint on the wall a layer of waterproof mortar. This mortar you can use Cement + Sand + Sika latex mixed together.
Step 4: Roll an additional layer of wall waterproofing membrane, it is best to use a 2-component waterproofing membrane, such as Sika 107 for example.
Step 5: Apply the finishing layers to the wall waterproofing membrane.
Waterproofing the wall from the inside requires skill and high expertise so you should need a reputable professional waterproofing unit to do this part.
Image of waterproofing wall base
Image of waterproofing against the wall from the inside
Image of the surface when finishing waterproofing the wall
5. Waterproofing external walls with Sika 107 or 2-component waterproofing membrane.
With this method, you will have to paint the wall twice. The first time you will apply a thin layer of mortar on the brick wall. After that, you will conduct a 2-component waterproofing membrane for the outer wall. You can use the product Sika 107 or easier to do there is sika 109 or Mapei k11…
The steps are as follows:
Step 1. First you wet the grout surface.
You should note that it is moist, but not allowed to stagnate on the floor. Because if the water is stagnant, the plastic part in the waterproofing component will float.
Step 2. Proceed to mix materials.
You add the powdered ingredient Sika 107 to the water in the ratio A:B = 1:4 then use a mixer to mix the materials. Mixing time from 3-5 minutes is the material will be even. And you use another 2-component waterproofing membrane product, you will mix the ratio according to that product.
Step 3. You proceed to roll the waterproof membrane Sika 107 onto the surface of the outer wall into 2 layers with the norm of 1 Kg/layer. Apply layer 2 when layer 1 has dried. Layer 2 you will apply perpendicular to the first layer (Construction in the shape of a cross).
Step 4: Apply the second layer of mortar to protect the first layer of mortar.
Image of exterior wall waterproofing with two-component materials (Mapei k11)
So with these 5 effective ways of waterproofing the outer wall and waterproofing the wall inside the house, you will have a more objective view of the wall waterproofing. To have a wall waterproofing product quality you need:
- Understand the properties of storing all kinds of wall waterproofing materials. Each type will have 1 strength.
- The wall locations need to pay special attention to waterproofing and wall waterproofing standards also must follow the correct process before performing waterproofing you need to understand.
- Check whether the waterproofing products you are planning to use are really good.
- Check the origin of materials, expiry date, accompanying COCQ papers.
- For safety, need a professional unit to perform wall waterproofing.
Sika raintite exterior wall waterproofing
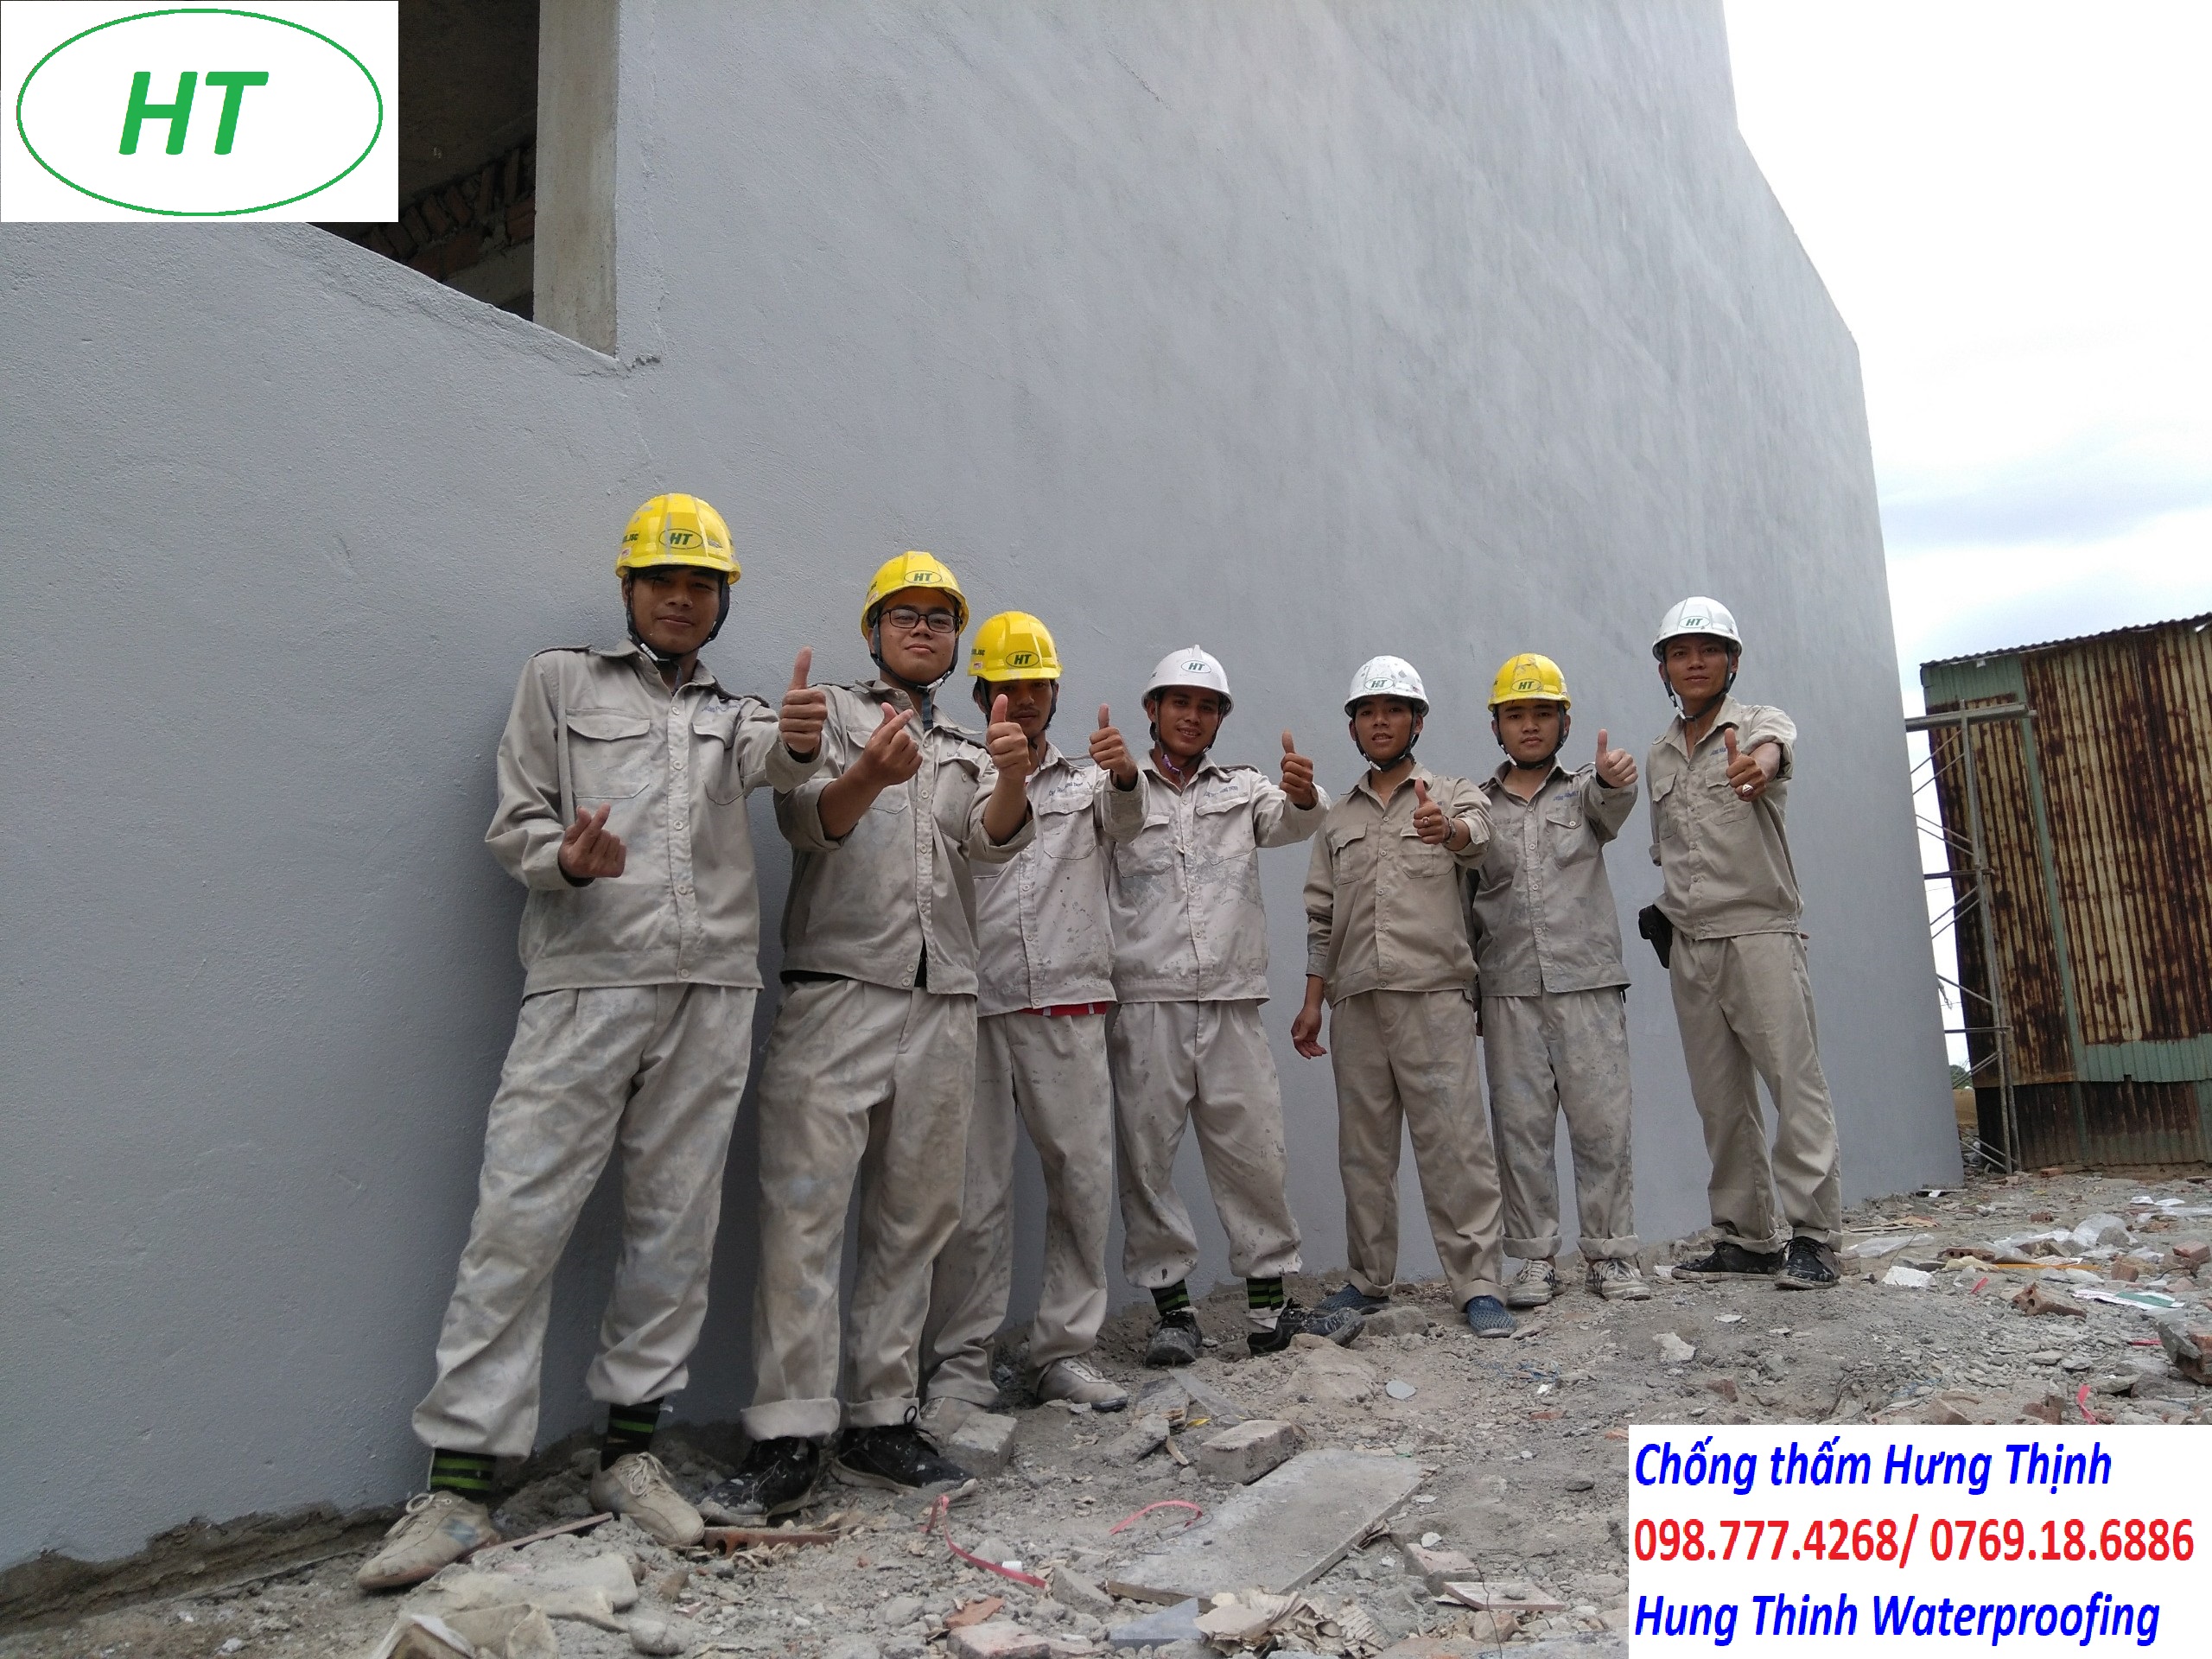
Waterproofing Hung Thinh - Waterproofing with experts.
✨ Hung Thinh Waterproofing Trading & Service Co., Ltd.
👉 Head office: Lot 15 Area B3.12 Phan Ba Vanh, Son Tra District, Da Nang City.
👉 Customer Care Office: K342 Hoang Van Thai, Lien Chieu District, Da Nang City.
We get waterproof construction for WC in Thanh Khe - Da Nang. Hung Thinh company is the top waterproofing unit in Da Nang with many attractive policies for customers.


.jpg)
.jpg)
.jpg)
.jpg)
.jpg)
.jpg)
.jpg)
.jpg)
.jpg)
.jpg)
.jpg)
.jpg)
.jpg)
.jpg)