CHỐNG THẤM SẠCH SẼ - TRIỆT ĐỂ VÀ CHUYÊN NGHIỆP


Post date : 04/02/2018

.jpg)
.jpg)
(1).jpg)
.jpg)
.jpg)
.jpg)
.jpg)
Hung Thinh - The best waterproofing service in Vinh, Nghệ An

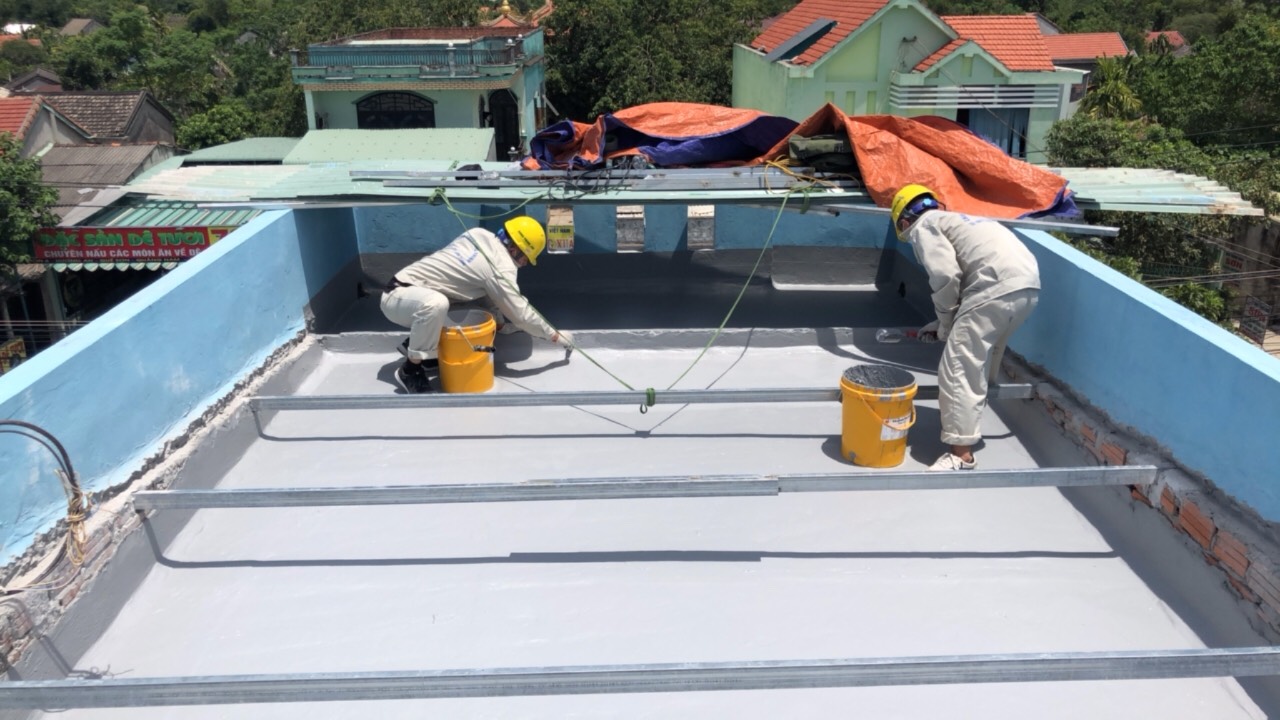
The professional waterproofing in Que Son district, Quang Nam province
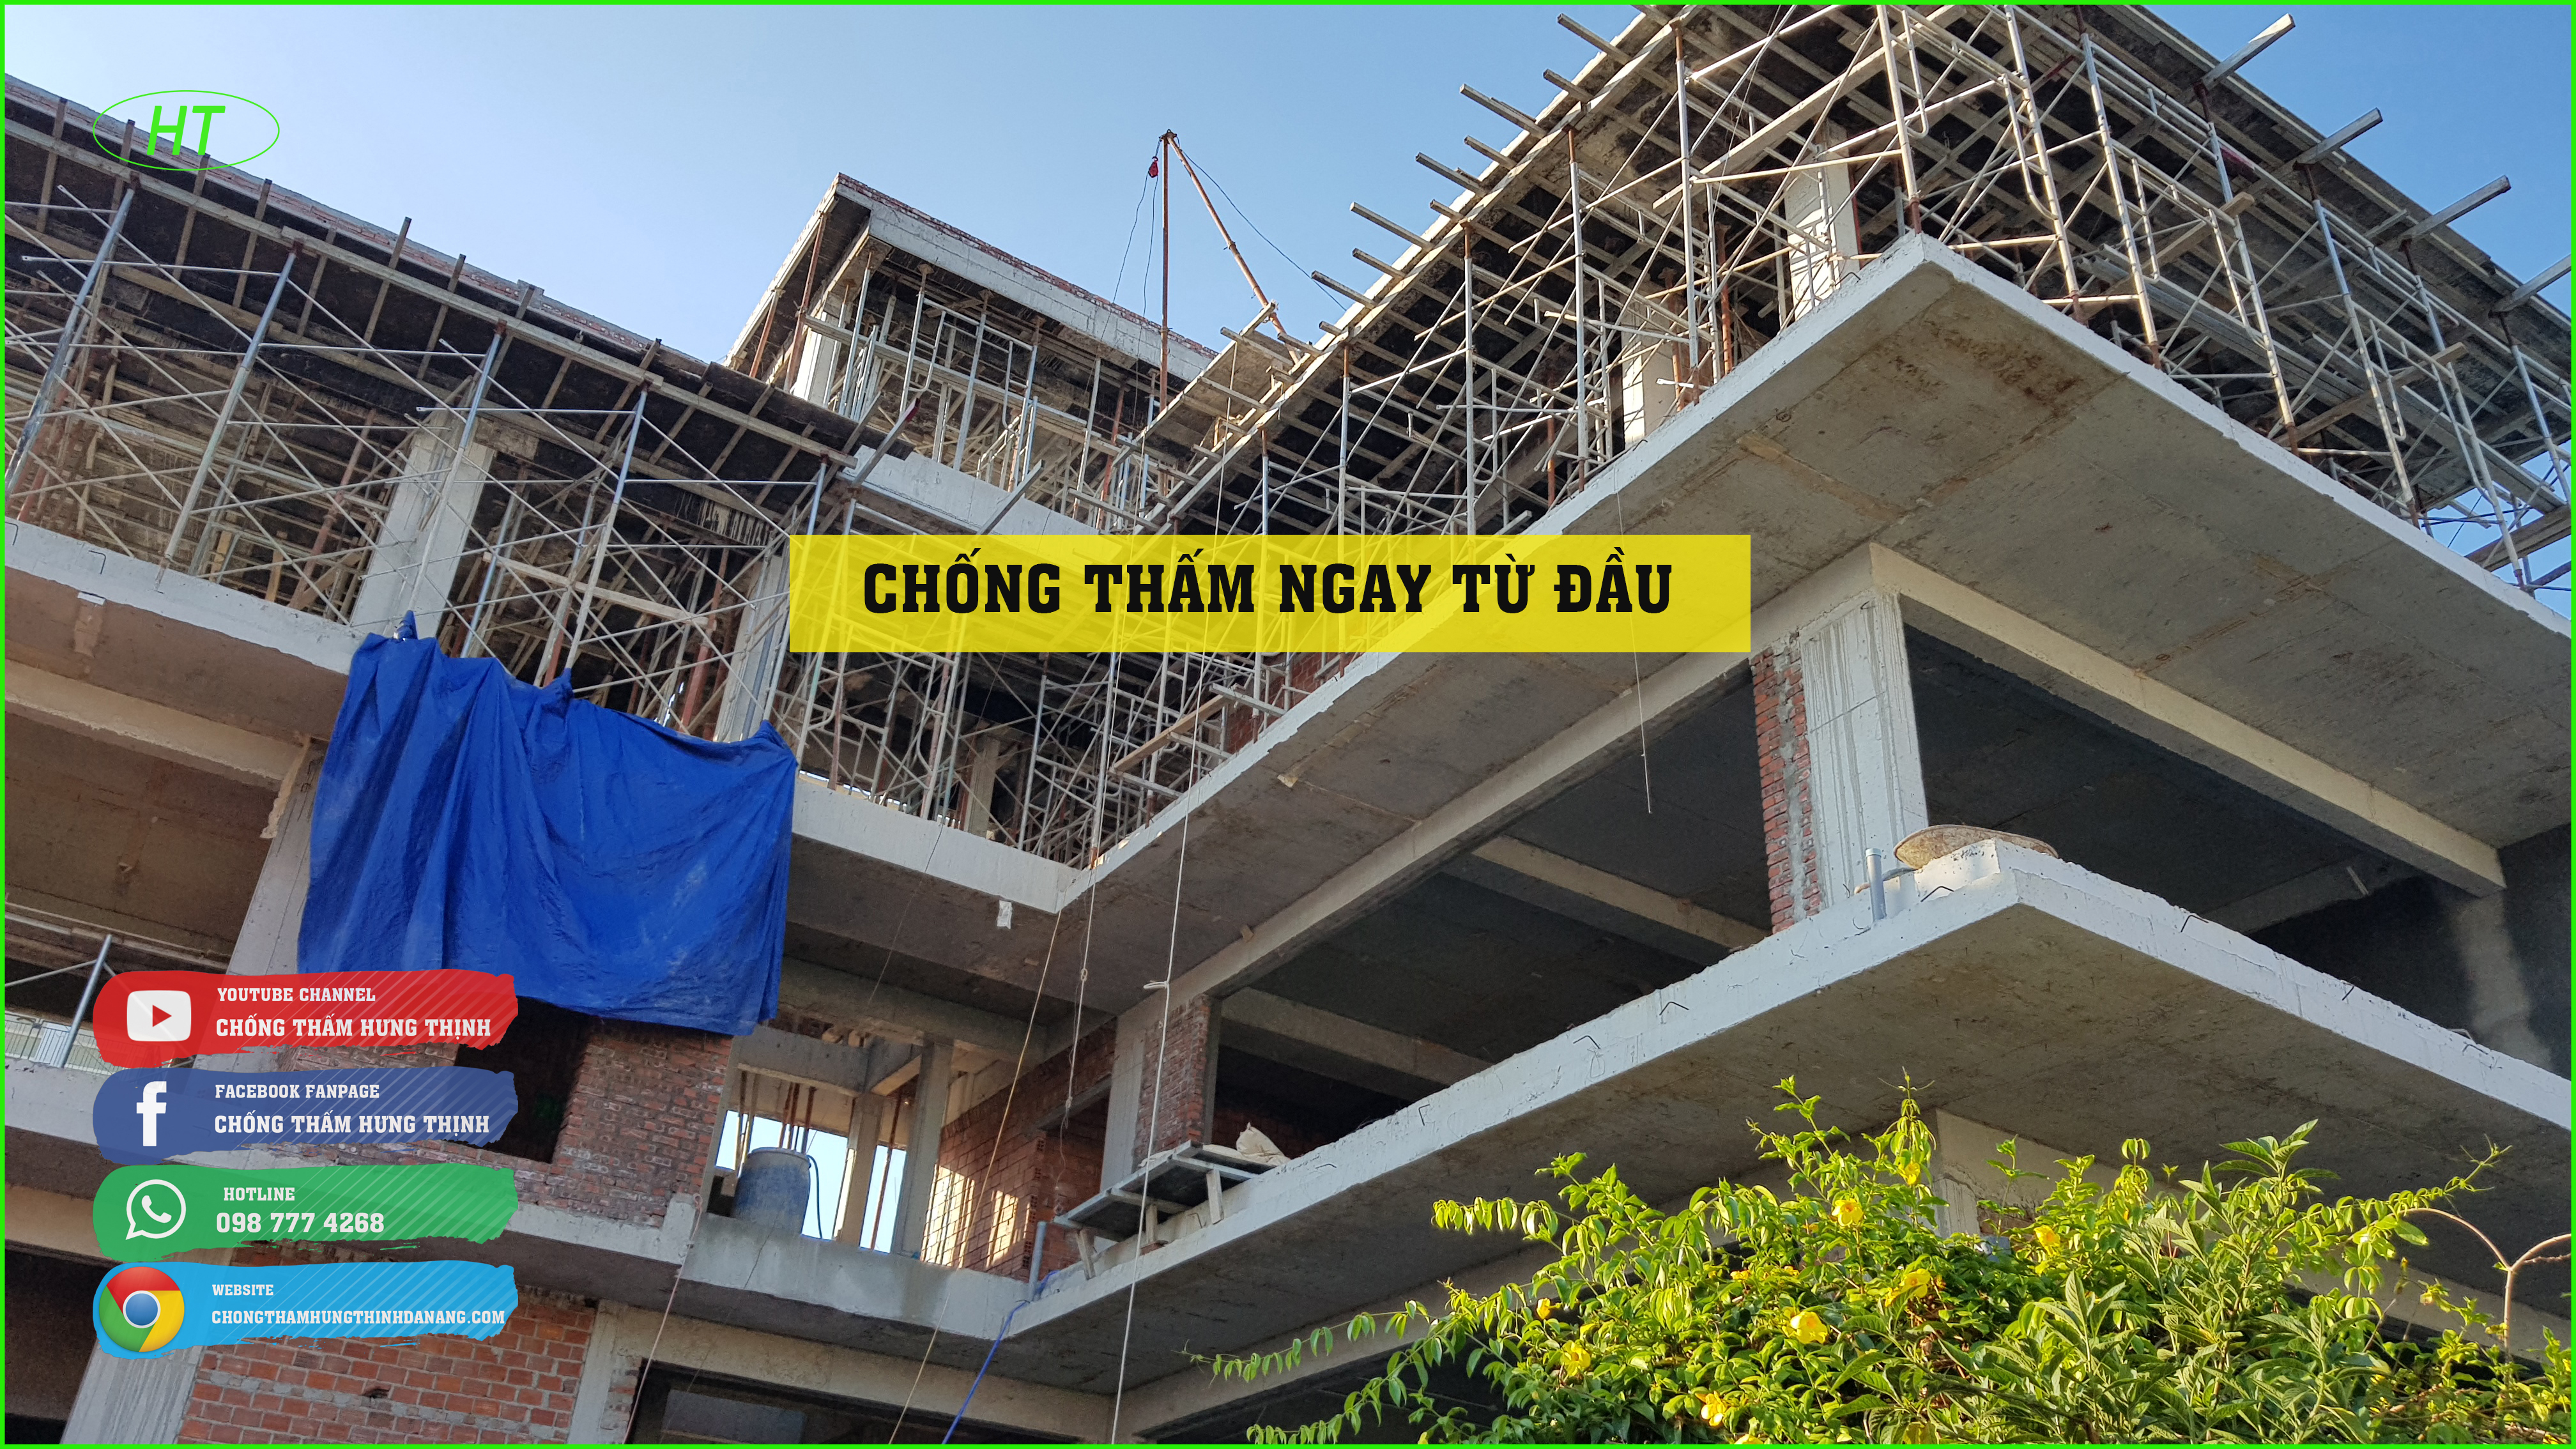
Our company get construction all over Nui Thanh district, most large and small constructions.
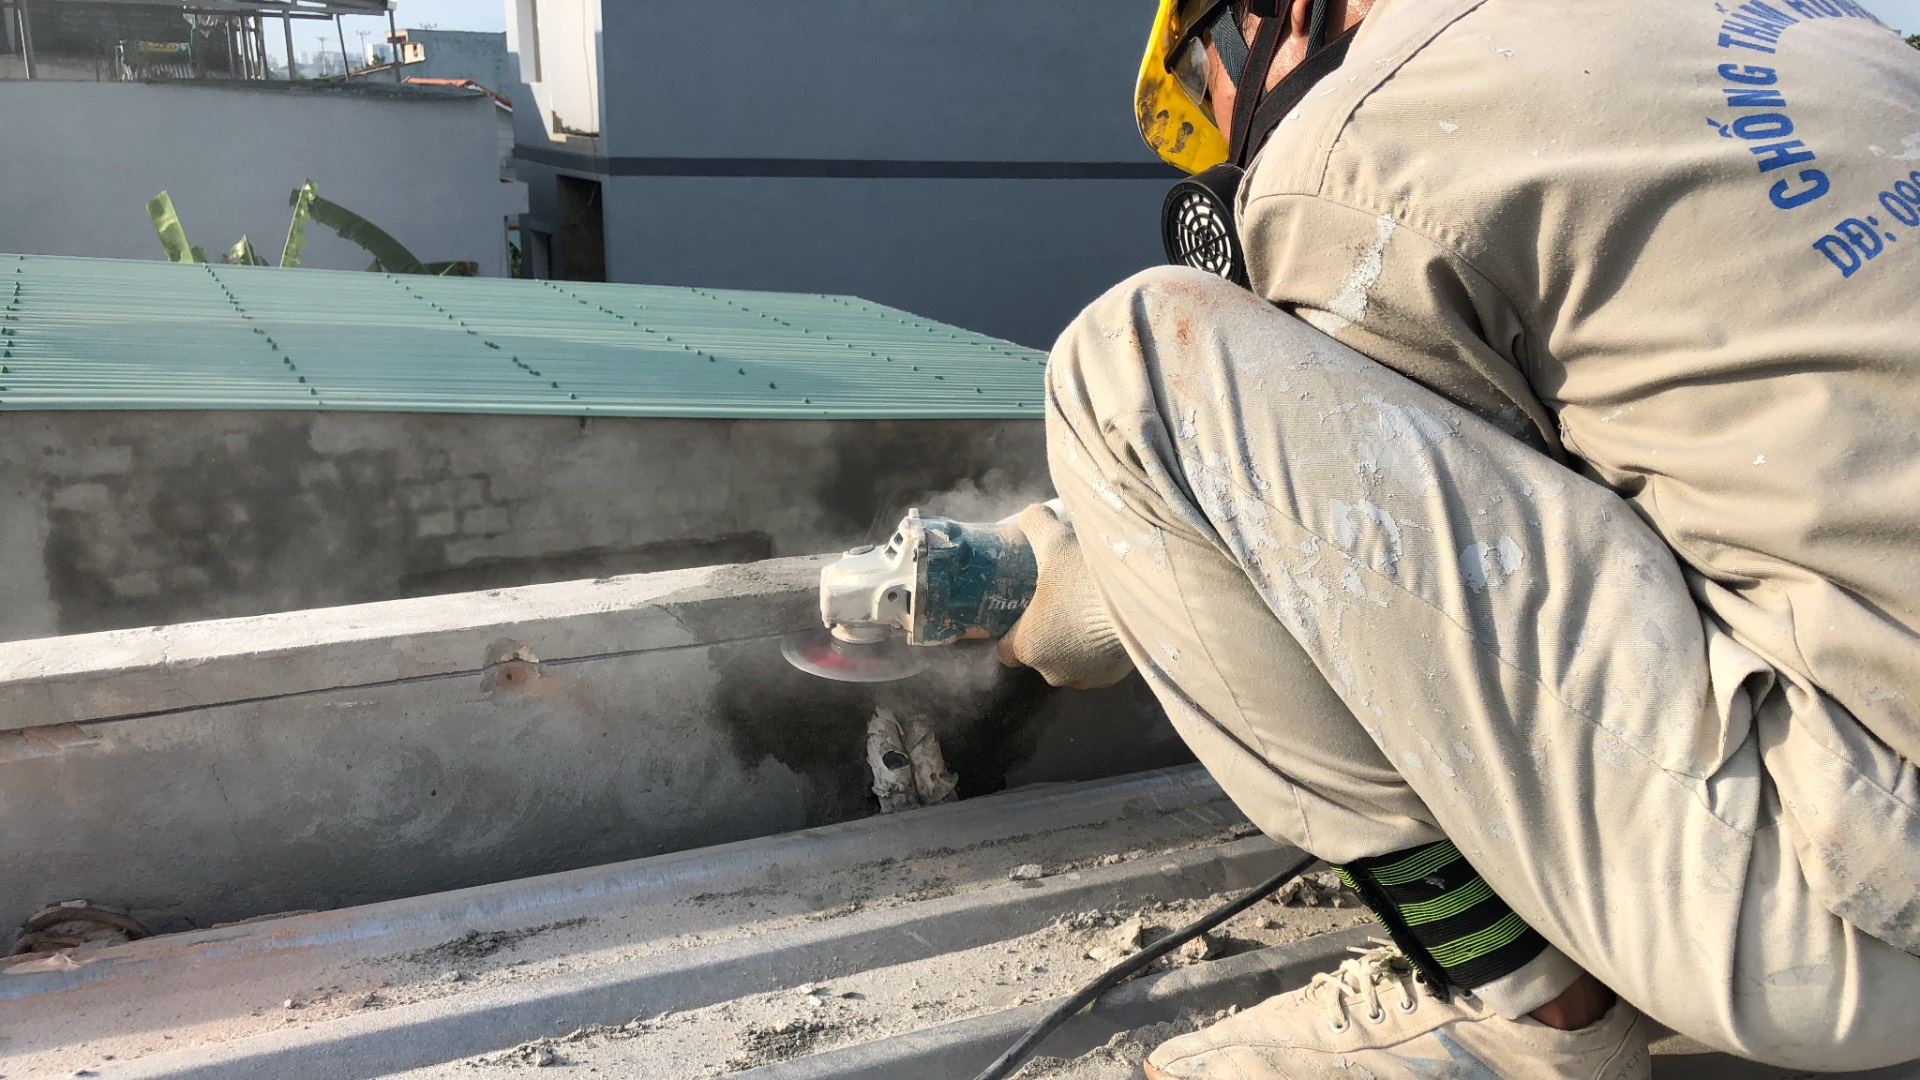
Hung Thinh waterproofing company - we are the top waterproofing unit in Quang Nam, Da Nang.
We get waterproof construction for WC in Thanh Khe - Da Nang. Hung Thinh company is the top waterproofing unit in Da Nang with many attractive policies for customers.
You are in need of waterproofing in Hoa Vang, Da Nang. Please contact 098.777.4268 to use the best waterproofing service.

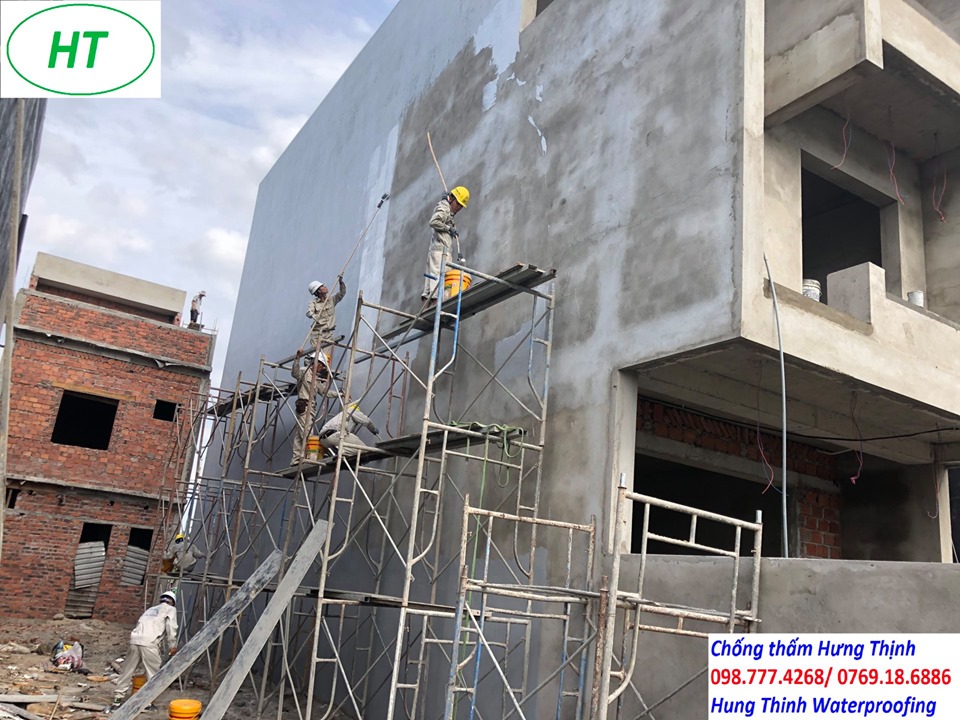
Detailed advice on how to effectively waterproof a wall house, quality assurance with the most economical.
We provide waterproofing service throughout the county of cam le district, with perennial staff.
Address: Lô 15 khu B3.12, Phan Bá Vành, Sơn Trà, Đà Nẵng
Hotline: 098.777.4268
Email: chongthamhungthinhdanang@gmail.com